Benefits
From Smooth Concrete to Secure Footing: A Barn Grooving Playbook
By Rick Jr. · June 16, 2026
Step-by-step playbook for grooving smooth dairy barn concrete into secure cow footing
Ready to groove but not sure where to start? This step-by-step playbook walks you from barn walk-through to finished grooves — zone by zone.
Step 1: Walk Your Barn Like a Cow
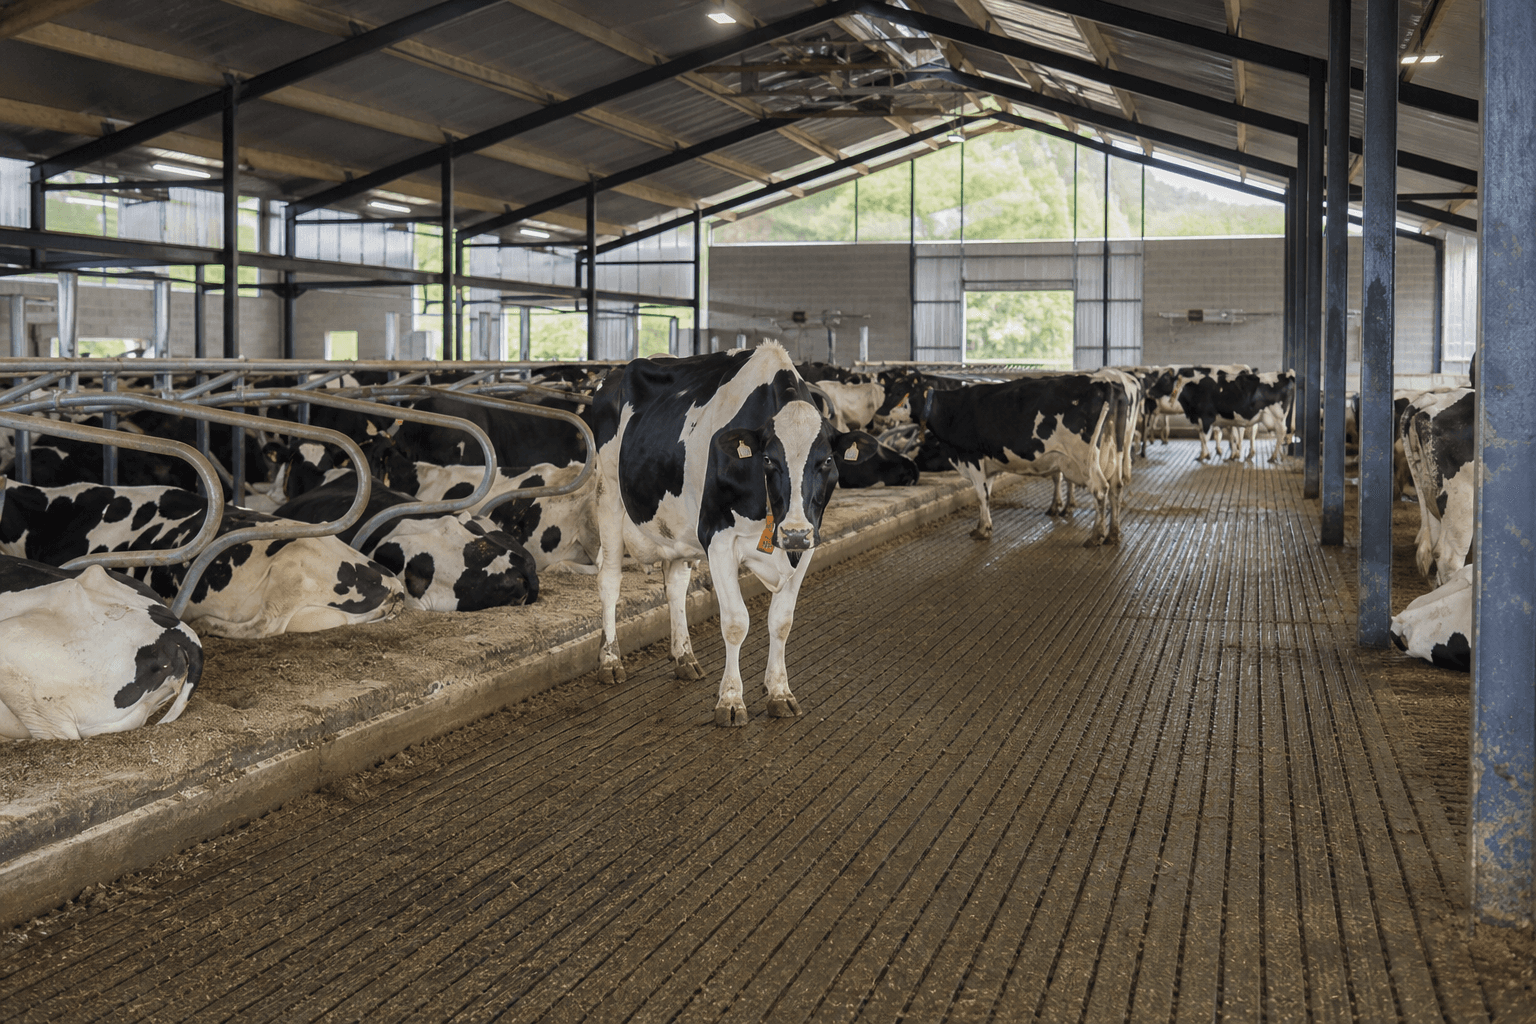
Every grooving project starts with a walk-through — but the best walk-throughs happen before we arrive. Walk your barn the way your cows travel: from the barnyard up the ramp, through the entry, down the alley, into the free stall, back out to the alley, to the holding area, through the parlor, and out the return lane. Note every place you see hesitation, scrambling, slipping, or bunching. Those are your priority zones.
Look at the floor surface itself. Smooth, polished concrete — especially wet areas near waterers, parlor exits, and manure passages — is the enemy. Grooves that were cut years ago but have worn round need regrooving, not replacement. Cracked or severely deteriorated concrete may need repair before grooving. Bring your observations to the walk-through and we'll confirm priorities together. Read why grooving works so you know what you're looking for.
Walk the barn like a cow travels it. Every hesitation point is a grooving priority.
Step 2: Map Zones and Match Patterns
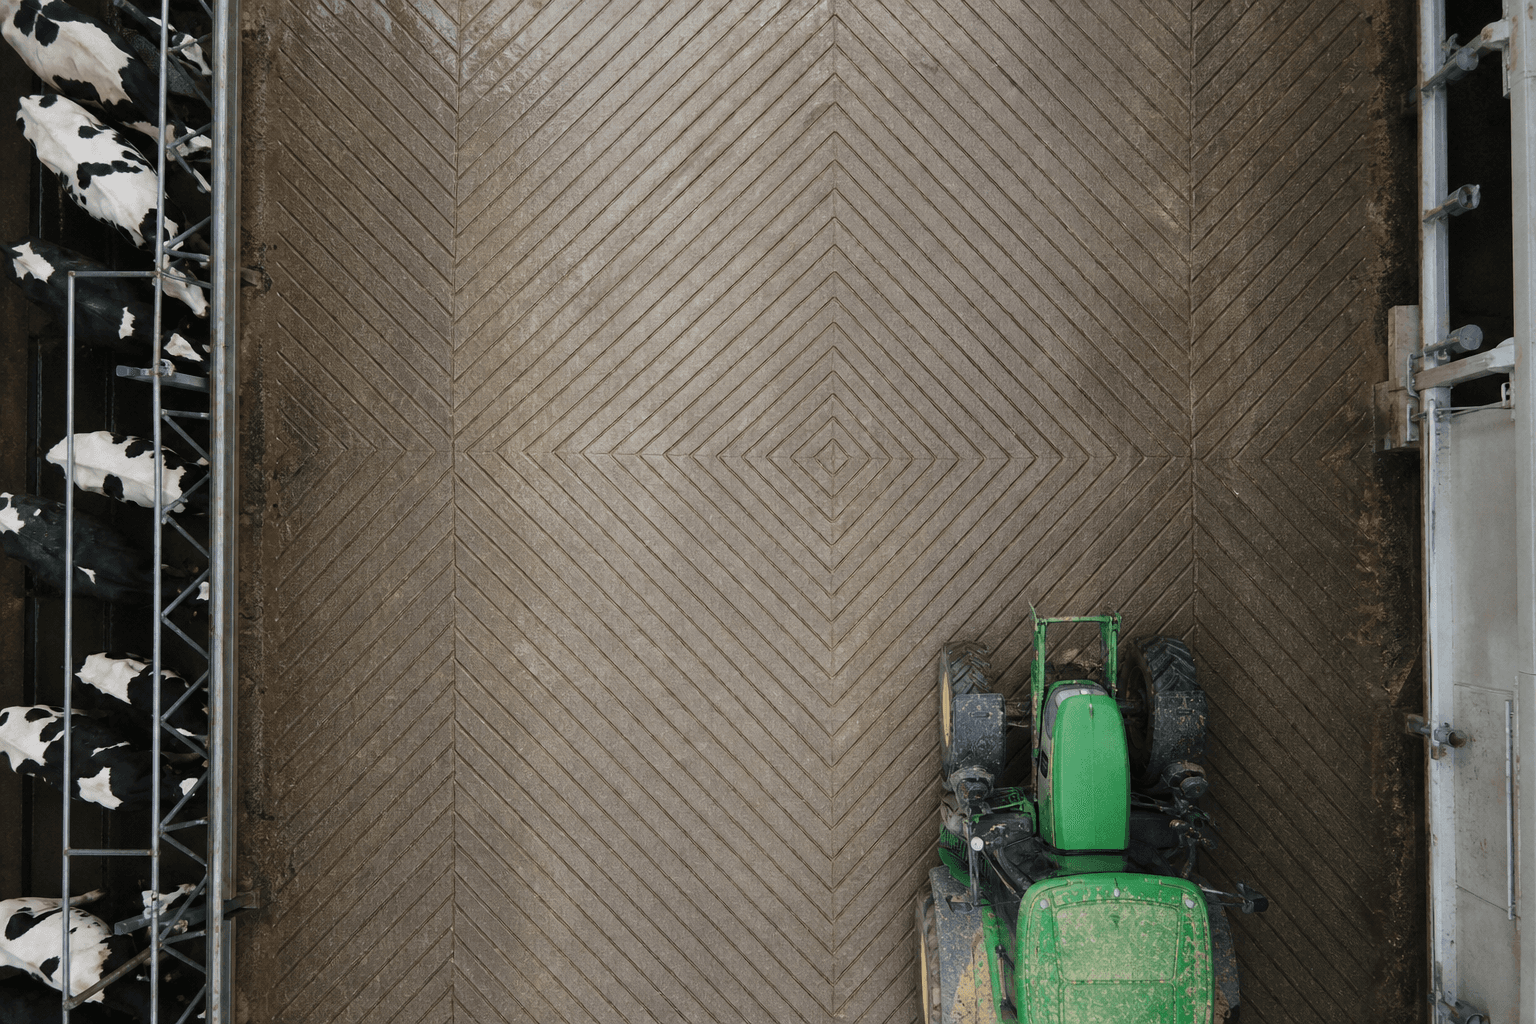
Divide your barn into zones: alleys, free stalls, holding area, parlor, turn areas, return lanes, ramps, and barnyard. Each zone gets a pattern matched to cow movement. Straight lines for alleys. Tractor herringbone for free stalls. Diamond for turns and pivot points. Perpendicular grooves for ramps. This zone-by-zone approach is detailed on our patterns page and in our pattern guide article.
You don't need every zone grooved at once. Rank zones by slip risk and traffic volume. Alleys and holding areas typically top the list because they handle the most footfalls. Free stalls rank high for resting-time injuries. Turn areas and ramps are often the most dangerous per square foot. We'll help you build a priority map during the walk-through that fits your budget and production schedule.
Pattern selection doesn't change the per-square-foot cost — at roughly $0.75/sq ft, every zone is the same rate. What changes is the order you tackle them if you're phasing the project across seasons or budget cycles.
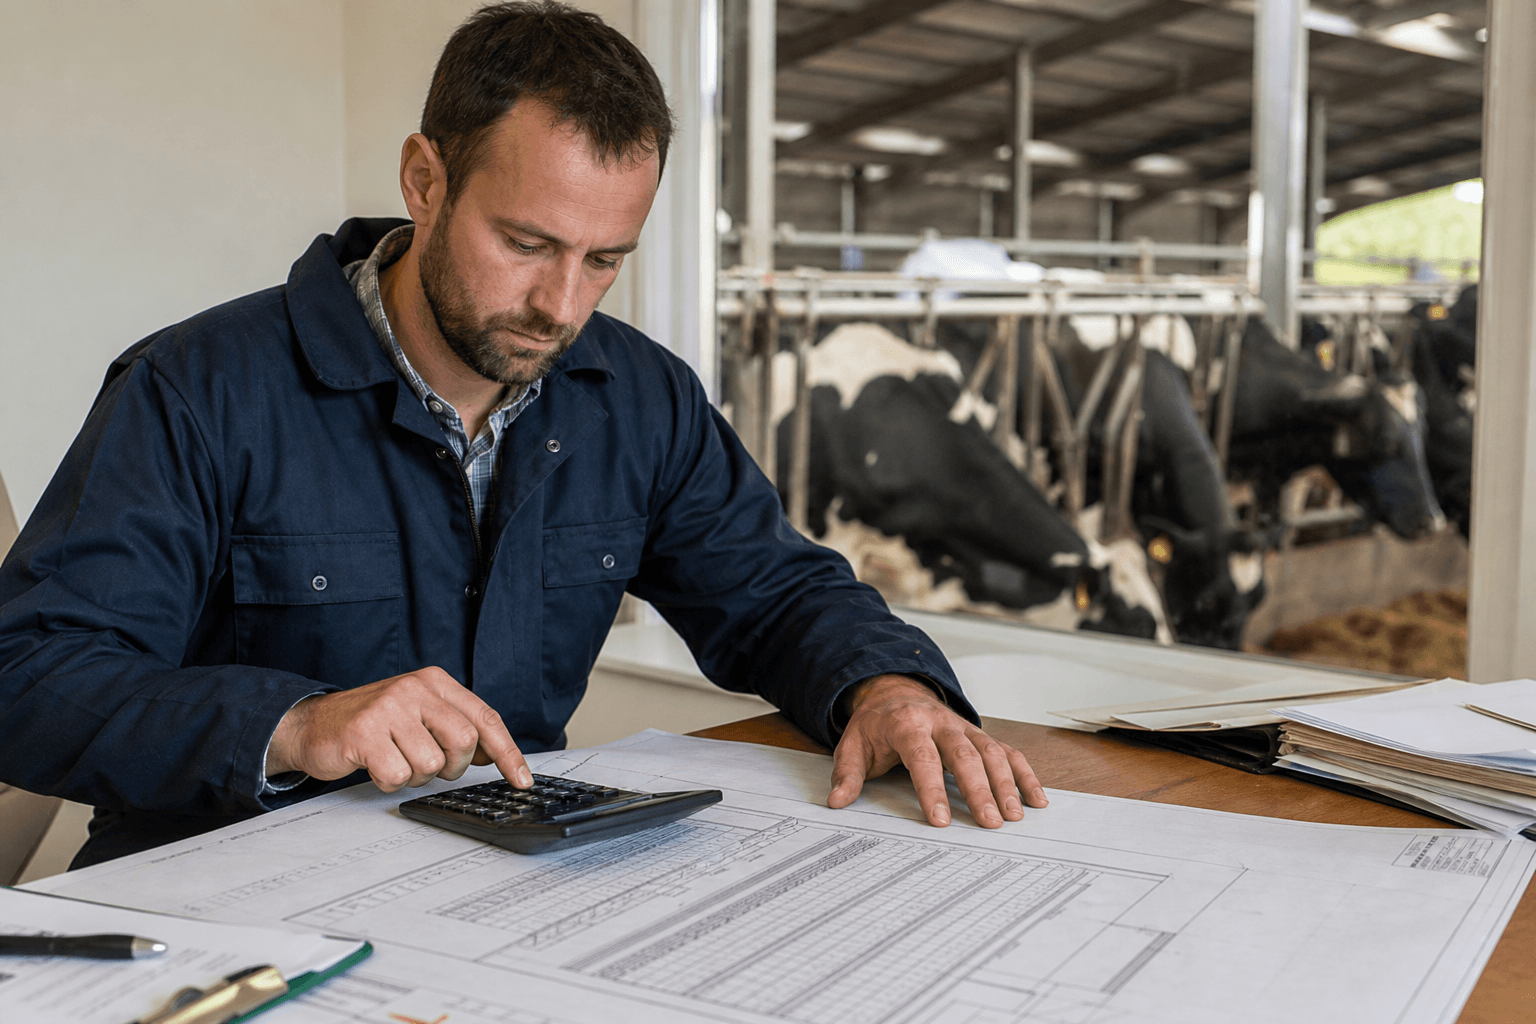
Step 3: Get a Real Quote
Skip the ballpark. Get a walk-through quote from a crew that cuts grooves — not a salesman who marks up subcontractor work. Our free estimate includes a barn walk-through, zone map, pattern recommendations, per-zone square footage, and a total price. The number we give you is the number you pay. No hidden fees, no cut-day surprises.
Compare our quote against your lameness cost. At $4.50/day per affected cow and 700–900 lbs of lost milk per lame cow per lactation, grooving almost always costs less than a single year of lameness losses. Lameness is the #3 cost on a dairy farm — and the quote you're holding is the cheapest lever you can pull to reduce it. Run the math before you decide.
If you've received quotes from other contractors, compare scope and price side by side. Ask whether the crew that quotes will be the crew that cuts. Ask about groove edge quality — square or rounded. Ask about regroove planning. The answers tell you more about value than the per-foot number alone.
Bring your hoof trimmer's last report to the walk-through — lameness patterns by zone often confirm priorities faster than a manager's best guess. When trimmer data and floor condition align, the grooving plan practically writes itself.
Step 4: Schedule Around Production
Grooving doesn't require emptying the barn. Cows can typically return to grooved alleys within hours of cutting. We schedule around milking shifts, group changes, and planned downtime. Many farms groove during dry periods, barn renovations, or between lactation groups. Outdoor ramp and barnyard work needs fair weather — plan those zones for spring or fall windows.
Phasing is fine. Year one: alleys and holding area. Year two: free stalls and turn zones. Year three: ramps and barnyard. Each phase delivers measurable improvement without waiting for the full project. We quote each phase independently so you know costs upfront and can budget accordingly. See our full service list for everything each phase can include.
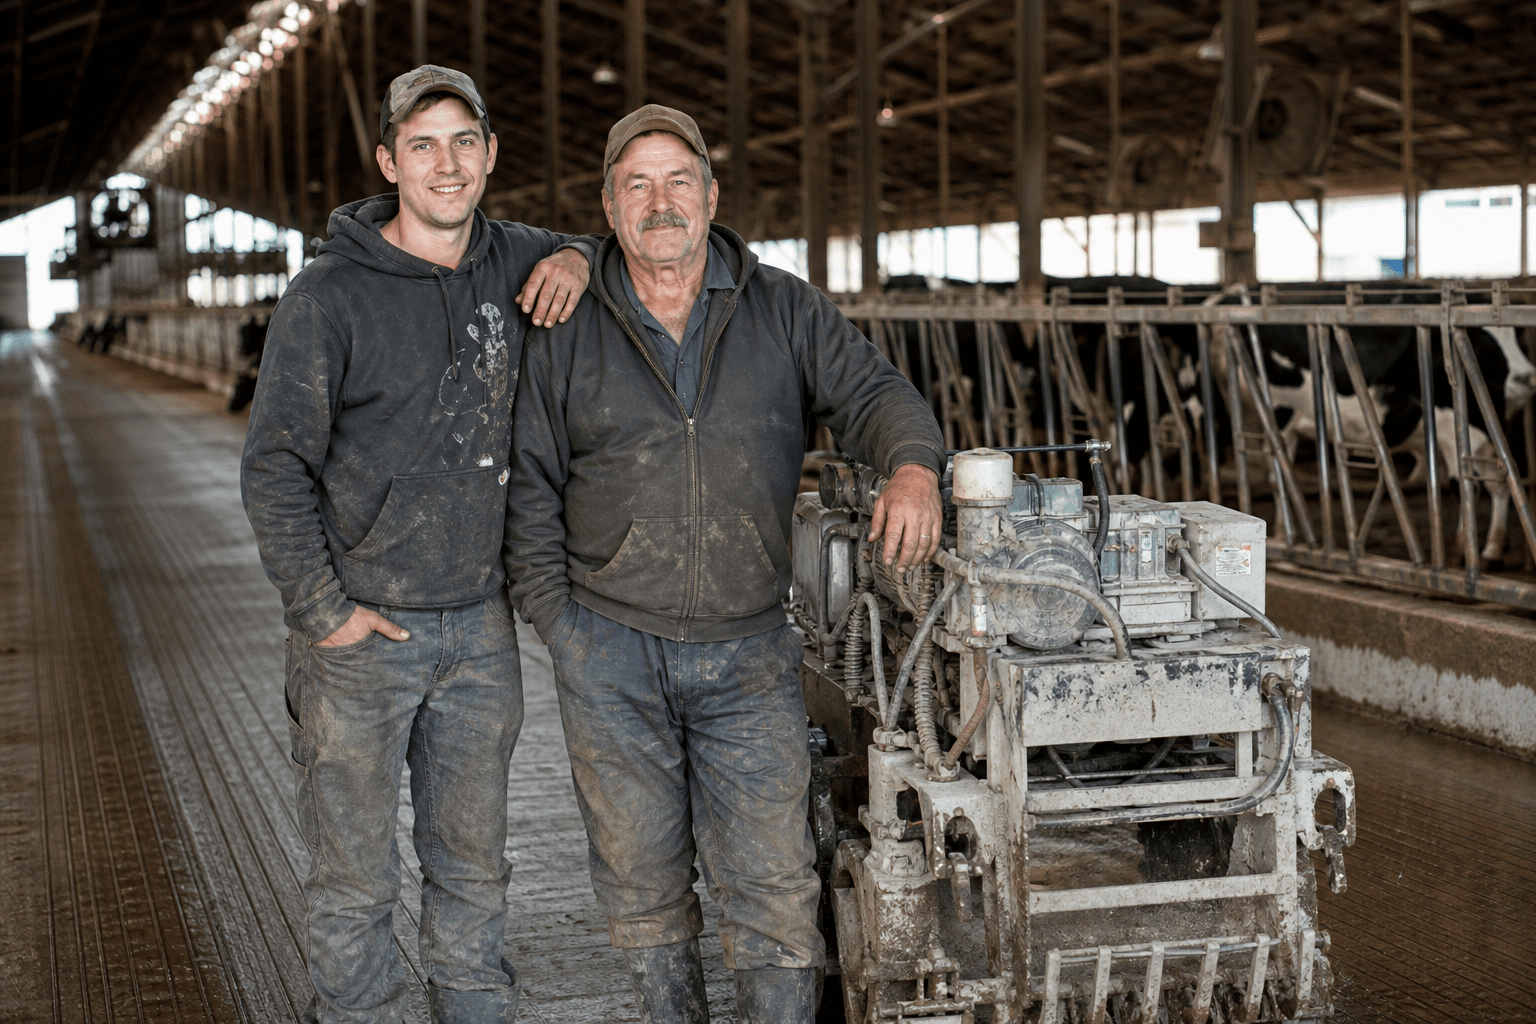
Our traveling crews mobilize nationwide — all 50 states except Hawaii and Alaska. Lead time varies by season and location, so call early if you have a target window. Rick Jr. schedules directly — no dispatcher, no callback tag.
Step 5: Cut Day and Quality Check
On cut day, we walk the barn with you before starting to confirm zones, patterns, and groove direction. After cutting, we walk it again. You should see defined square edges, consistent spacing, and clean cuts without chipping or irregular channels. Feel the grooves underfoot — they should grip, not crumble.
Square edges are the quality marker that separates professional grooving from amateur work. Rounded edges look grooved but perform like smooth concrete within months. Our crew has been cutting square-edged grooves for 35+ years — it's the standard on every job, not an upgrade option. If the edges aren't square, the job isn't done.
Cleanup is part of the job. We remove cutting debris and leave the barn ready for cows. Most farms return cows to grooved areas the same day. You'll notice the difference immediately — cows walk grooved alleys without the hesitation they showed on smooth concrete hours earlier.
Document cut day with photos — you'll want a baseline when regroove planning starts in six years. Edge definition, spacing, and pattern layout in fresh cuts are the reference point for judging wear. Farms that keep those photos make better regroove decisions than farms relying on memory alone.
Step 6: Plan the 6–8 Year Regroove Cycle
Grooving isn't a one-time event — it's a maintenance cycle. Square-edged grooves last 6–8 years before edges wear enough to reduce traction. Mark your grooving date, set a reminder for year six, and plan regrooving before lameness numbers climb — not after. Regrooving costs the same per square foot and restores traction in a fraction of the time because the pattern is already established.
Track your lameness incidence, hoof trimmer reports, and parlor throughput after grooving. These metrics tell you when grooves are performing and when they're wearing. Most farms see improvement within the first lactation and stable performance for years before gradual decline signals regroove time. We remind farms approaching the regroove window — before cows do.
The playbook ends where it started: with cows on secure footing, moving confidently through every zone of the barn. From smooth concrete to secure footing isn't complicated — walk, map, quote, schedule, cut, and maintain. Davidson has guided farms through this process for 35+ years. Learn about our crew on the about page, compare grooving to alternatives on grooving vs. milling, and request your free estimate when you're ready to start.
Save this playbook and revisit it at year six when regroove planning starts. The walk-through priorities may shift — parlors wear faster than stalls on some farms, barnyards faster than alleys on others — but the process stays the same. Secure footing is a cycle, not a one-time project, and farms that treat it that way spend less on hooves over a career than farms that wait for lameness to force the conversation.
Share the zone map from your walk-through with your hoof trimmer and vet — they often see lameness patterns that confirm grooving priorities before the first cut. Alignment between floor work and hoof care makes both investments work harder.
The playbook works because it's simple: walk, map, quote, cut, maintain. No step gets skipped, and no zone gets forgotten.
Start with the walk-through — everything else follows from seeing the barn the way your cows experience it.
Frequently Asked Questions
How long does the full grooving process take?
Walk-through and quote: one visit. Cutting: typically 1–3 days depending on barn size and zones. Cows can usually return to grooved areas the same day. Total elapsed time from first call to finished grooves is often 2–4 weeks depending on scheduling.
Can I start with just one zone?
Absolutely. Many farms start with alleys and holding areas, then add stalls, turns, and outdoor zones in later phases. Each phase delivers measurable improvement. We quote each phase independently.
What should I do to prepare for grooving day?
Clear access to all zones being grooved. Plan cow movement around the work area during cutting. No special floor prep is usually needed — we assess condition during the walk-through and note any repairs required beforehand.